How to keep Your Car Looking its Best
We look at the best practices from the world of auto detailing so you can pick up some tricks of the trade yourself!

We look at the best practices from the world of auto detailing so you can pick up some tricks of the trade yourself!
You have seen them in the showrooms and at auto shows. But your own car somehow never manages to get close to their shine and lustre, perhaps you are doing something wrong, or simply missing one additional step in your car care protocol. Read on for our best advice for maintaining that new car look.

It actually takes only a little work to maintain that 'wet' showroom shine.
Yes, you read that right. Avoid the automatic washes at all costs. You may be fooled into thinking that all that expensive equipment must mean that your car will get a very thorough wash, but those brushes are notorious for leaving swirl marks and all sorts of micro-scratches that over time will dull the shine of your paint. They may claim to be non-abrasive, but the main concern lies with how often they get washed (if at all). Poor cleaning of those brushes means that grit and other particles of dirt from previous cars now get the opportunity to rub against your vehicle, wrecking the finish.
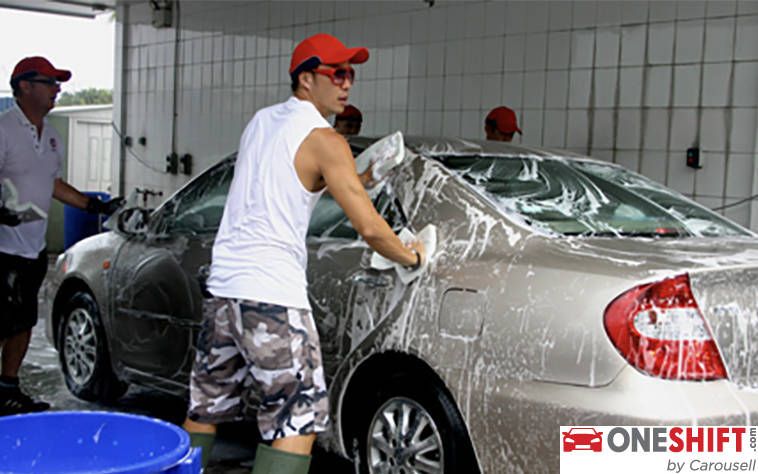
Likewise, those quick-clean commercial hand-wash stations may seem to offer more careful cleaning of your car, but this is still relying on the diligence of the people actually doing the washing to ensure that every towel and chamois is cleaned and completely dirt-free (trust me, they are not).
If you must send your car to someone else to have it cleaned, contactless washes are your best bet. Contactless washes wash via a combination of water / shampoo jets and then blow dry your vehicle, avoiding any physical contact with your paint, and thus keep the risk of damage to paint down to practically nothing.
Based on feedback from these washes, my top two tips would be that you have to, firstly, re-apply wax on your vehicle slightly more often since these places may rely on more aggressive shampoos to remove dirt, and secondly, you will get a better result if you pre-soften stubborn bird droppings and tree sap with water before sending your car into the wash.
So we are left with washing your car yourself.
Firstly, washing frequency. Keeping your car clean is important as it ensures that contaminants picked up from the road / outside do not sit on your paint. Bird droppings and tree sap especially contain organic compounds that can eat into the paint, and if left for a long time will eventually soften the clear coat, making it easier for other contaminants to dull the surface.
But on the flip side, since washing is the only time you come into contact with the paint, you also want to ensure that you do not wash unnecessarily, since this increases the chance of adding swirl marks.
Most detailers will recommend washing once a week or once every two weeks, although I find it is possible to get away with less as long as you do a bit of spot washing every week. Use a spray or quick detailer to loosen any dirt or bird droppings from the spot, wipe clean and then reapply to ensure that the paint is protected until the next wash.
Secondly, a good wash mitt is essential. Soft, deep microfibre mitts will ensure that you do not scratch the paint while aiding to pull particles into the sponge’s openings, away from the paint.

On to the washing. You are going to want to wash the wheels first, since they are going to be the most dirtied from traffic film and brake dust. Use an alloy cleaner or auto degreaser as per instructions. Start washing your car from the roof and work your way down the rest of the car. This ensures that you do not end up reintroducing dirt picked up from the bottom, dirtier half of your car.
When washing, utilise the two bucket system, that is, you fill one bucket with soapy water and fill the other with clean water. Each time you’re ready to reload your wash sponge or mitts with soapy water, dip it in the clean water first, to rinse out the grit and contamination you’ve just removed from your vehicle. Then dip it in the soapy water and continue washing. This will ensure that any grit that you wipe off the car does not stay on the mitt, potentially scratching the paint. Want to make extra sure that no grit goes back onto the car? Get grit guards for your buckets. They work by preventing your mitts from reaching back onto the bottom of your bucket, keeping away even the most adventurous pieces of dirt.
The next time you wash your car, try washing using only straight strokes, as opposed to circles, and use downward strokes for the doors. This will ensure that even if you do accidentally end up putting micro-scratches on the paint, they will stay less visible. Vertical scratches are less likely to catch the light since you predominantly move sideways when walking alongside the car, while circular scratches will catch the light from any angle, and are more difficult to polish out.
Clay bars are another product that we rarely use here. If your car paint feels rough or scaly but doesn’t look like it should be, it is because the paint is embedded with various particles that cannot be removed by mechanical action alone. Clay bars stick to these particles and pull them out, and can thus be a very useful intermediate step in retaining that paint shine, saving you unnecessary trips to the polisher. Apply detailer as lubricant and then rub over rough spots with the bar, kneading the bar frequently so you do not work those particles back into the paint. As with cleaning, use straight strokes as opposed to circles.
Of course, once done, wipe dry with a soft microfibre towel or chamois so you are not left with water spots. Soak your microfibre towels and mitts in warm water prior to rinsing them over when you are done washing. This will loosen dirt from the fibres and ensure you have a clean cloth for the next wash.
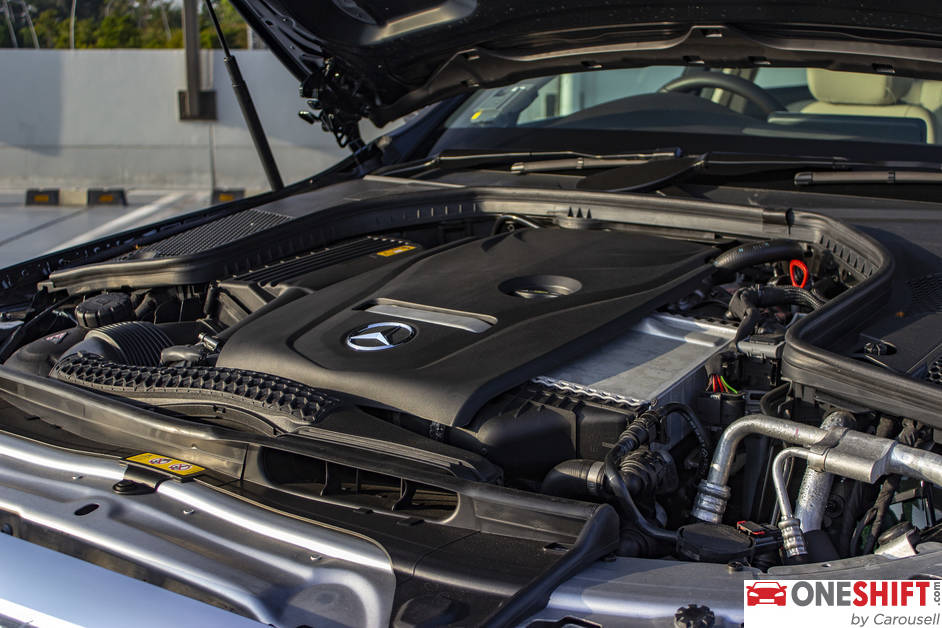
For those seeking a proper clean, you might also want to consider dressing up the engine bay. Wrap up your distributor cap, battery and alternator with plastic bags and duct tape any cracked rubber and exposed wiring to prevent water from getting into them. Check to ensure that the dipstick is secure in place and you are ready to go.
Corrosion on steel or aluminium pieces can be cleaned up with the right wire brush (ask your hardware store), and brightened up with a paste metal polish.
Follow this by treating plastic covers to a good rinse and brush them down with a mix of water and degreaser or all-purpose cleaner. Use a combination of toothbrushes for hard to reach places and painting brushes for larger pieces like the engine cover and intake manifold. Use a trim restorer to bring back lost shine on your plastic pieces and hoses.

Finally, we need to protect your paint. Traditionally this was done with a solid paste carnauba-based car wax, which protects your paint from damage from excessive heat, UV rays, environmental contaminants or harsh detergents. Simply apply on and buff off to shine.
But today, silica-based sealants are also become popular. These new sealants (also known as ceramic or glass coatings) cure and bind onto the car paint, providing a longer lasting protective layer that does not need frequent reapplying unlike wax, although some feel that you do not get the same “warm” finish of carnauba wax. Choose what is appropriate for you schedule and budget.
And for those looking to save a bit of time, spray waxes are also available. Since they do not need buffing clean, they are a quick and easy solution for a good amount of protection.
Regular waxing will make your routine wash a lot easier since dirt slides off a waxed surface more easily than bare metal, and bird droppings and-the-like bind to hard paint easier without the layer of wax.
Check for water beading to know if you need to reapply the wax on your car. If water sprayed onto the car without soap easily forms into a film, your car will need a new coat of wax. Or if you are familiar with how your car paint feels it is also possible to vaguely judge by running a finger along the paint when clean. Spray waxes typically last a month while solid ones can range from three to six months.
With these tips in mind it should be years before you will need to send your car for a mechanical polishing. But perhaps there already are swirl marks or places where your paint has oxidised due to neglect, if you wish to correct damage on your paint or simply start your newfound car care regime on a clean slate, there is always the option of sending your car to a professional groomer for a once over.
A professional groomer will be able to best advise between the various treatments for scratch repair, usually involving a combination of wet-sanding and compound polishing, as well as restore the shine of your paint like new without wearing too much of the clear coat.
And even if there are no obvious points of paint damage, it might be useful to send your car in if you plan on keeping it near pristine for many years: a professional shop has access to proper lighting and experts that can diagnose based on what they see from your car’s paint condition if there is anything you may be doing wrong or perhaps have not spotted. They also will access to specialised equipment that can measure things such as the remaining depth of your clear coat. Talk to your groomer to gain as much information as possible. Think of it as sending your beloved car to an occasional spa day.
Happy detailing!
Credits: Clarence Seow


Get the Best Price for your used car
from 500+ dealers in 24 hours

- Convenient and Hassle-Free
- Consumer Protection
Transparent Process
With No Obligation


